Mini Cheesecake Cups
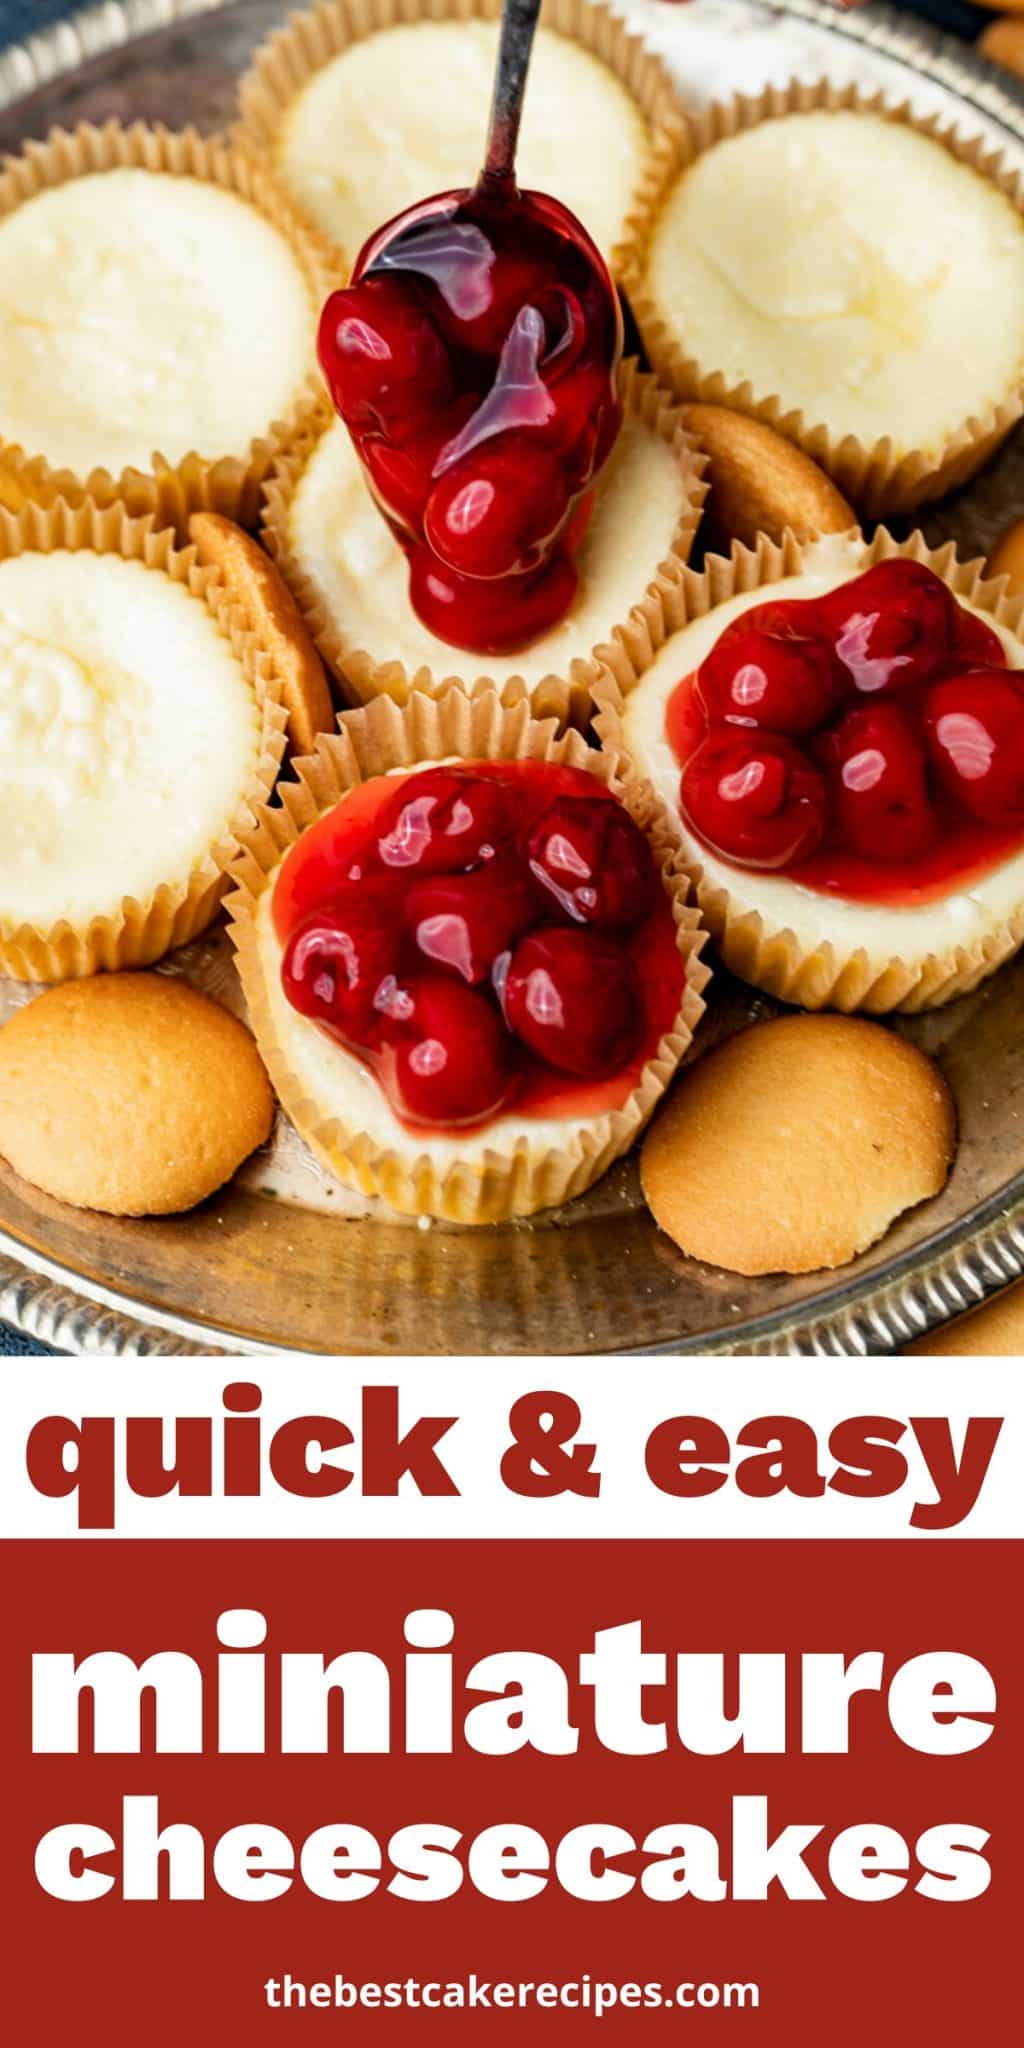
Learn how to make mini cheesecake cups with an easy cookie crust. There are endless topping ideas for these creamy cheesecakes.
Table of Contents
Whether it is friend party, baby shower or family reunion, individual cheesecakes are the perfect solution for a fun dessert. And they are easier than you might think!
If you’re serving cupcakes, try serving these mini cheesecake cups for a different option. They are a great gluten free option if you use gluten free cookies as the crust.
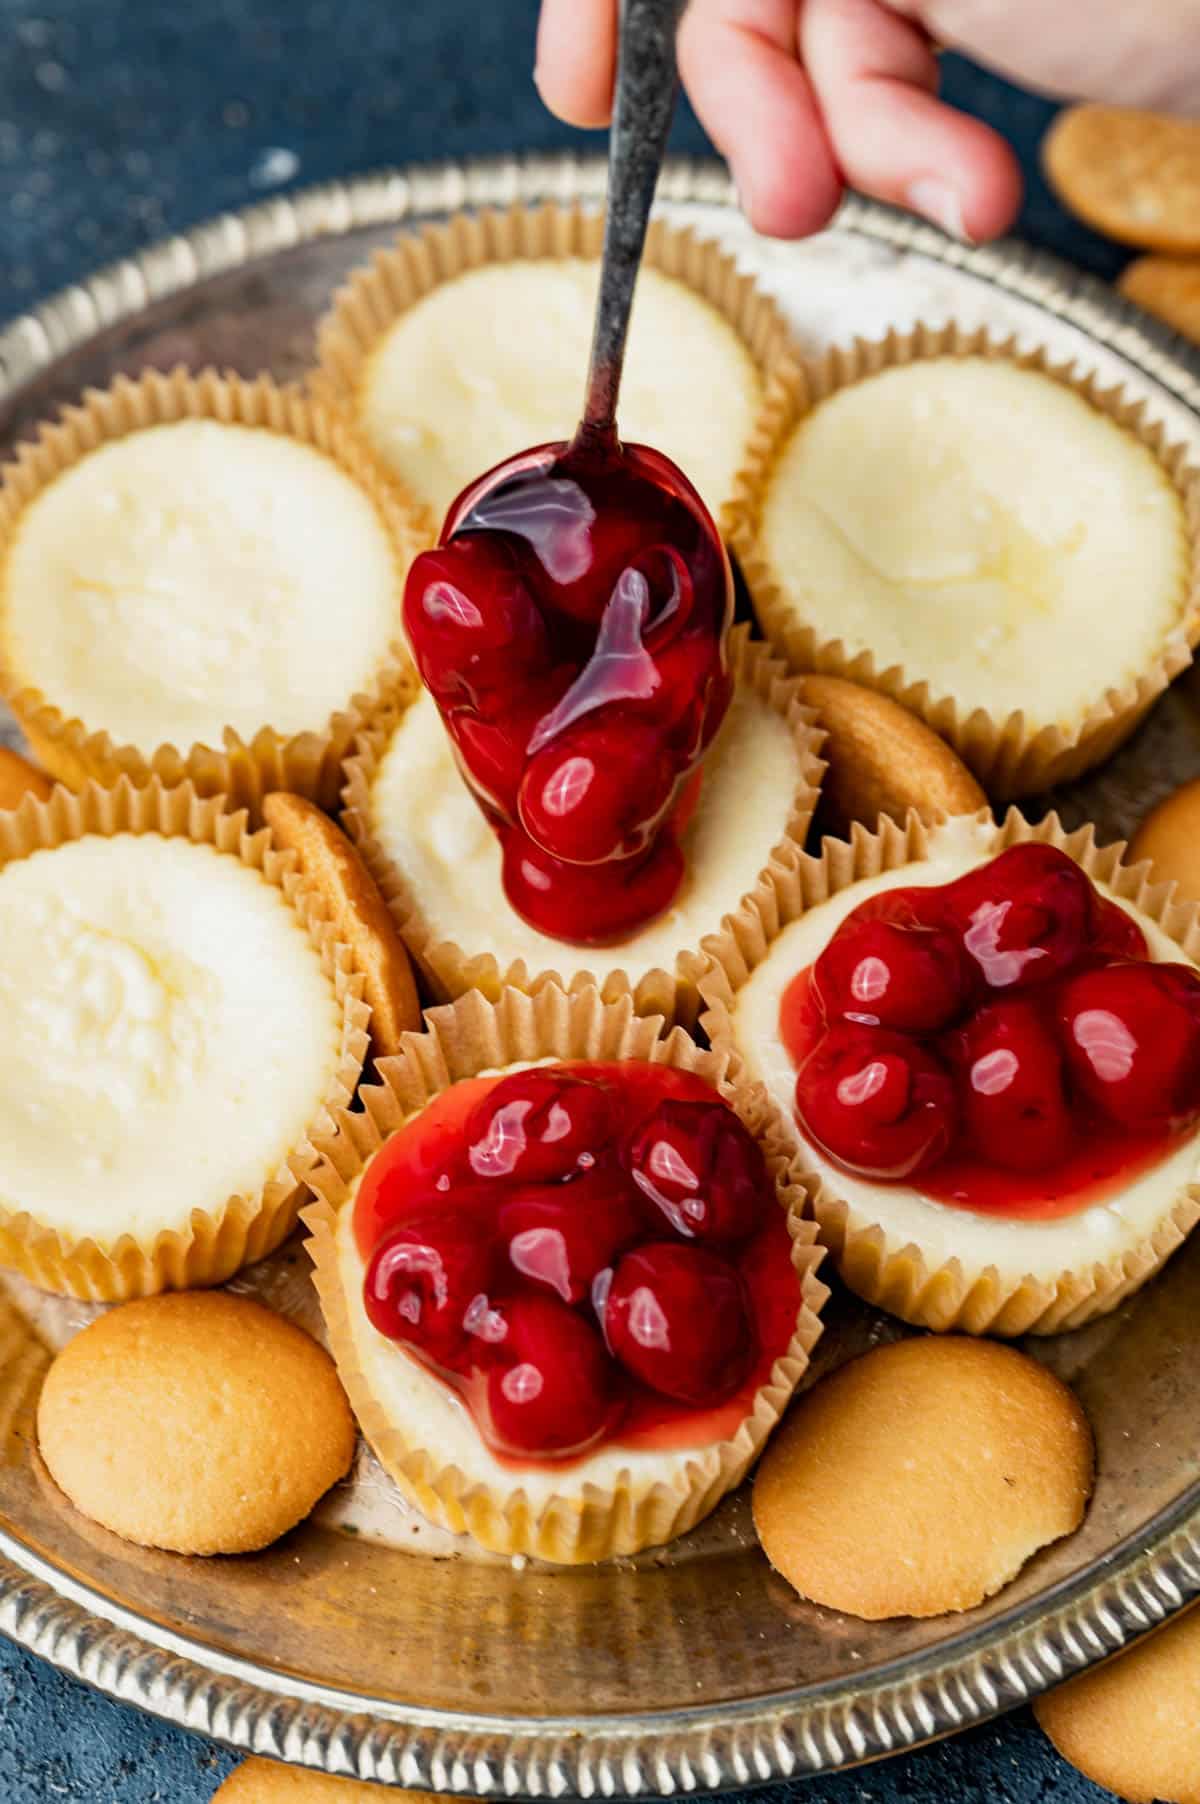
About these Mini Cheesecake Cups:
- Flavor: The cheesecake cups are rich and sweet, but the flavor is plain cheesecake. You can of course add an extract or a touch of lemon juice if you’d like, but they are good just plain as well.
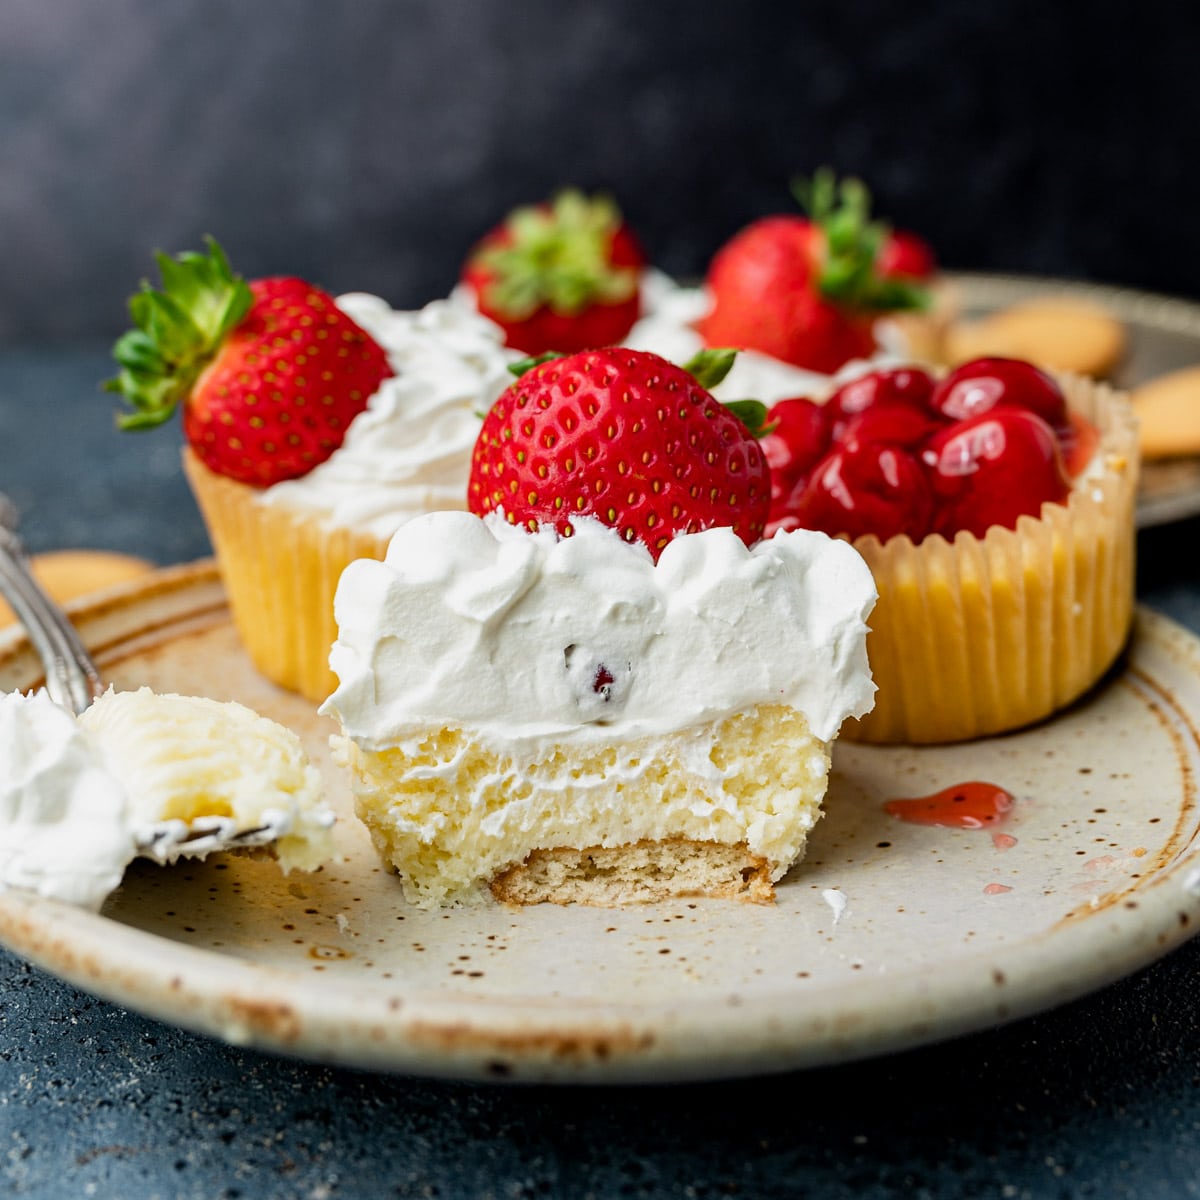
- Texture: These little cups have a creamy cheesecake filling. The cookie as the crust will soften slightly as they chill.
Cheesecakes in a Standard Muffin Pan
What do I love about this mini cheesecake recipe? It’s made in a standard muffin pan. There’s no need to have a mini muffin tin or a springform pan. You’ll get a perfectly creamy individual cheesecake by using a regular muffin pan.
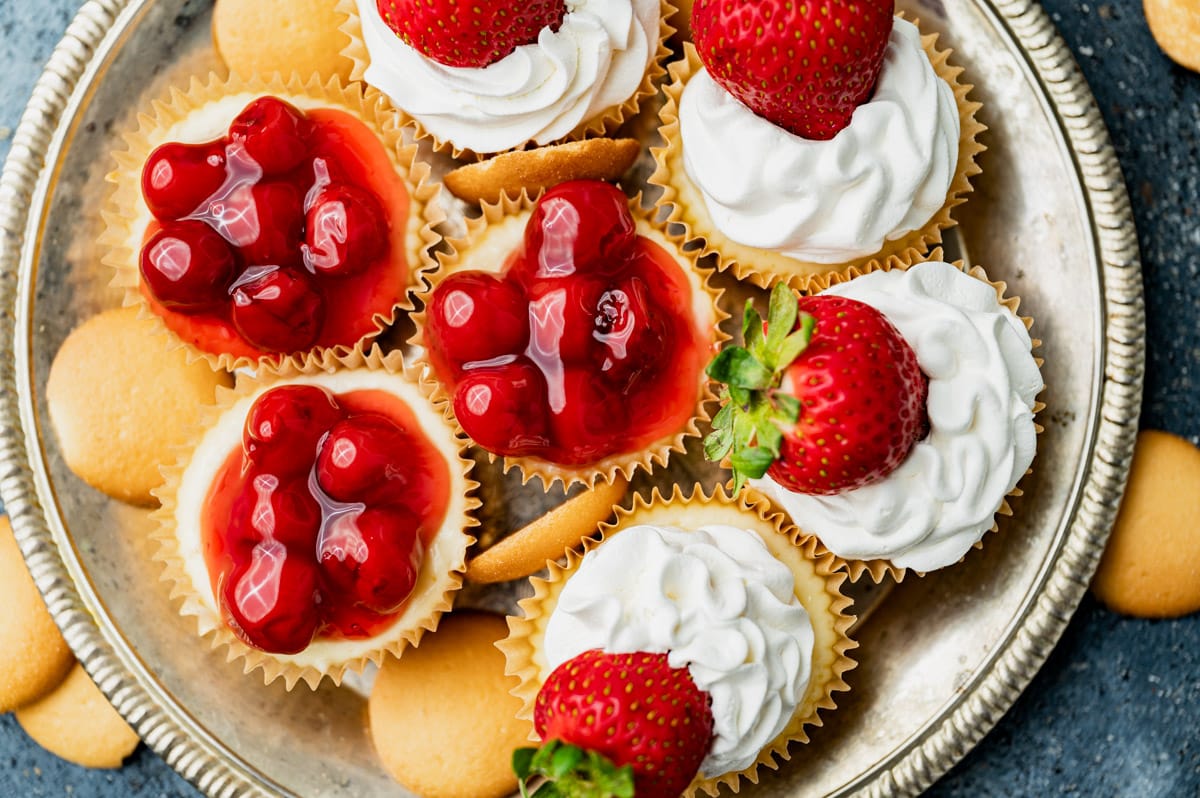
Easy Crust for Mini Cheesecakes
To keep the cheesecakes quick and easy, I used cookies as the crust. Simply place a vanilla wafer or Oreo cookie (or any cookie that is about that size) in the bottom of a paper liner. It may not fill the entire bottom, but that’s ok. The purpose is to be quick!
If you’re looking for something a little more elegant, use a homemade graham cracker crust. You’ll be able to see it on all sides of the cheesecake and it will form more of a base.
How to Make Mini Cheesecakes
To prepare, preheat the oven to 325ºF. Place cupcake liners in a standard muffin pan. Place a vanilla wafer cookie (or Oreo cookie) in the bottom of each liner.
- In a medium bowl, mix the cream cheese until creamy and smooth. (You can use a stand mixer with the paddle attachment or a hand mixer on low speed.)
- Add in the sugar and vanilla. Mix well and scrape the bowl as needed.
- Add in the room temperature eggs and mix on low speed just until combined.
- Using an ice cream or cookie dough scoop, divide the cheesecake filling evenly between the 12 muffin cups. Tap the pan on the cupboard several times to release any air bubbles from the cheesecake mixture.
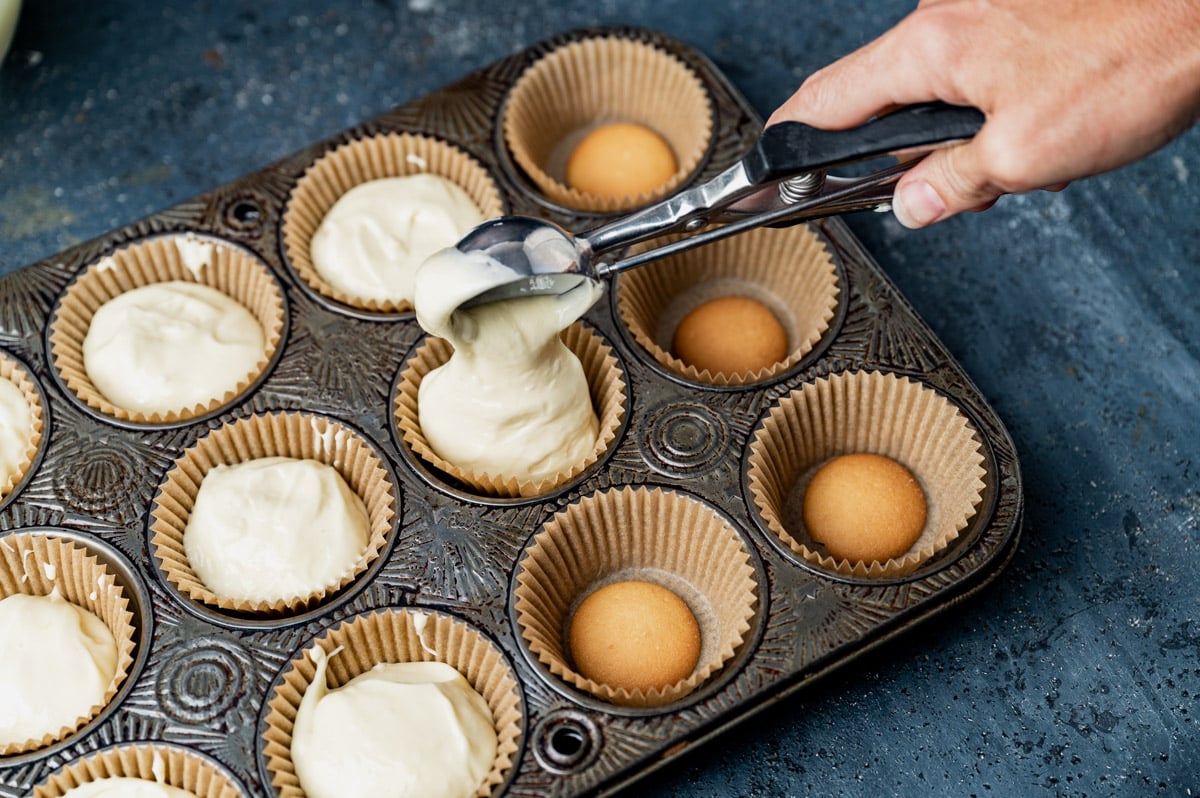
- Bake for 22-24 minutes. Do not over bake. The tops should not be brown at all.
- Allow the cheesecakes to cool in the pan until they are room temperature, then remove them from the pan.
How long do you chill cheesecake?
Since these are mini cheesecakes, they should only take about 4 hours to chill thoroughly in the fridge, but cheesecakes are often best served the next day so feel free to refrigerate overnight.
Cheesecake Topping Ideas
My favorite topping for cheesecake is cherry pie filling or even apple pie filling, but use any of these variations you’d like:
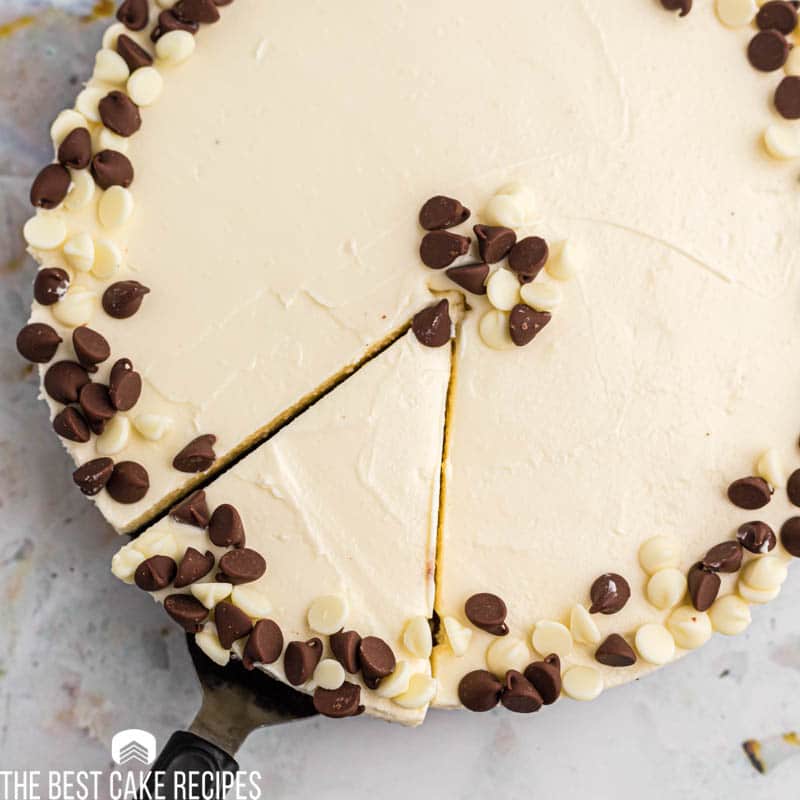
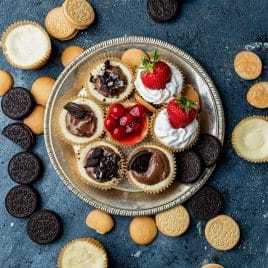
- Whipped cream and fresh berries such as blueberries, strawberries or raspberries.
- Caramel sauce
- Lemon curd
- Melt chocolate chips to make a chocolate ganache topping.
- Spoon Nutella over the top.
- Drizzle dark chocolate over the top, then sprinkle with chopped pecans and a little sea salt. Or add caramel for a turtle cheesecake.
Storage Instructions
Store the cheesecakes in an airtight container in the refrigerator for up to 5 days. Freeze for up to 2 months.

Mini Cheesecake Cups
Learn how to make mini cheesecake cups with an easy cookie crust. There are endless topping ideas for these creamy cheesecakes.
Servings 12
Ingredients
For the crusts:
- 12 vanilla wafers or Oreo cookies
For the cheesecakes:
- 16 ounces cream cheese room temperature
- ¾ cup granulated sugar
- 1 teaspoon vanilla extract
- 2 large eggs room temperature
Instructions
Prepare:
- Preheat the oven to 325ºF. Place paper liners in a standard muffin pan. Place a vanilla wafer cookie (or Oreo cookie) in the bottom of each liner.
Make the cheesecakes:
- In a medium bowl, mix the cream cheese until creamy and smooth.
- Add in the sugar and vanilla. Mix well, scraping the bowl as needed.
- Add in the room temperature eggs and mix on low speed just until combined.
- Using an ice cream or cookie dough scoop, divide the cheesecake batter evenly between the 12 cups. Tap the pan on the cupboard several times to release any air bubbles.
- Bake for 22-24 minutes. Do not over bake. The tops should not be brown at all.
- Allow the cheesecakes to cool in the pan until they are room temperature, then remove them from the pan.
- Chill the cheesecakes in an airtight container for at least 4 hours, but preferably overnight.
- Top with your favorite syrups, pie fillings, fruits or whipped cream.
- Serve cold. The cheesecakes freeze well, too!
Notes
Refer to the article above for more tips and tricks.
The calories shown are based on the recipe making 12 cheesecakes, with 1 serving being 1 cheesecake (no toppings). Since different brands of ingredients have different nutritional information, the calories shown are just an estimate. **We are not dietitians and recommend you seek a nutritionist for exact nutritional information. The information in the nutrition box are calculated through a program and there is room for error. If you need an accurate count, I recommend running the ingredients through your favorite nutrition calculator.**
Nutrition
Calories: 127kcal | Carbohydrates: 20g | Protein: 7g | Fat: 2g | Saturated Fat: 1g | Polyunsaturated Fat: 1g | Monounsaturated Fat: 1g | Trans Fat: 0.02g | Cholesterol: 32mg | Sodium: 300mg | Potassium: 121mg | Fiber: 0.1g | Sugar: 17g | Vitamin A: 60IU | Calcium: 137mg | Iron: 0.2mg
Other Cheesecake Recipes to Love
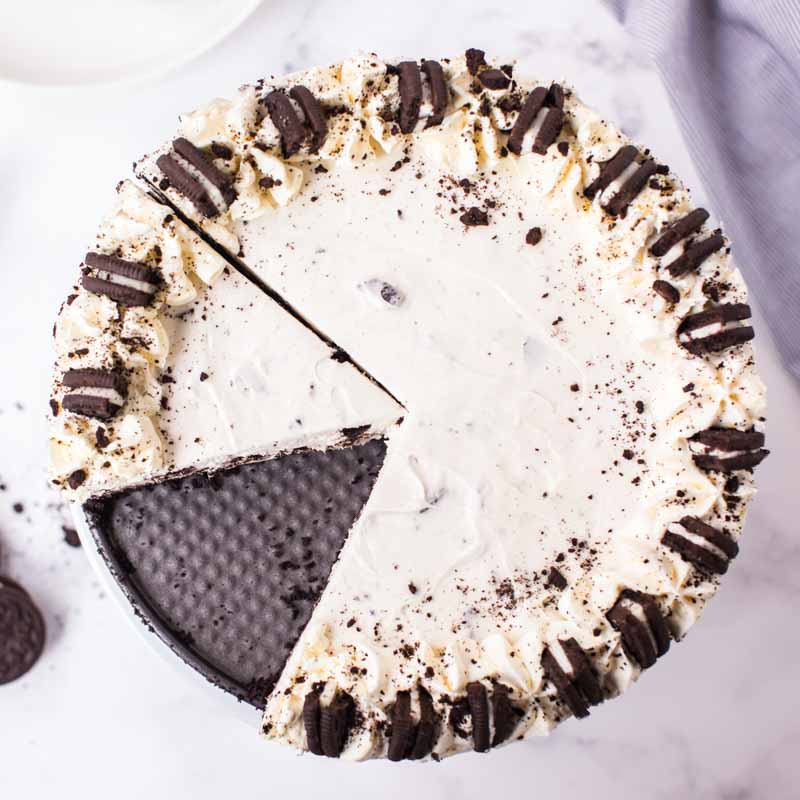
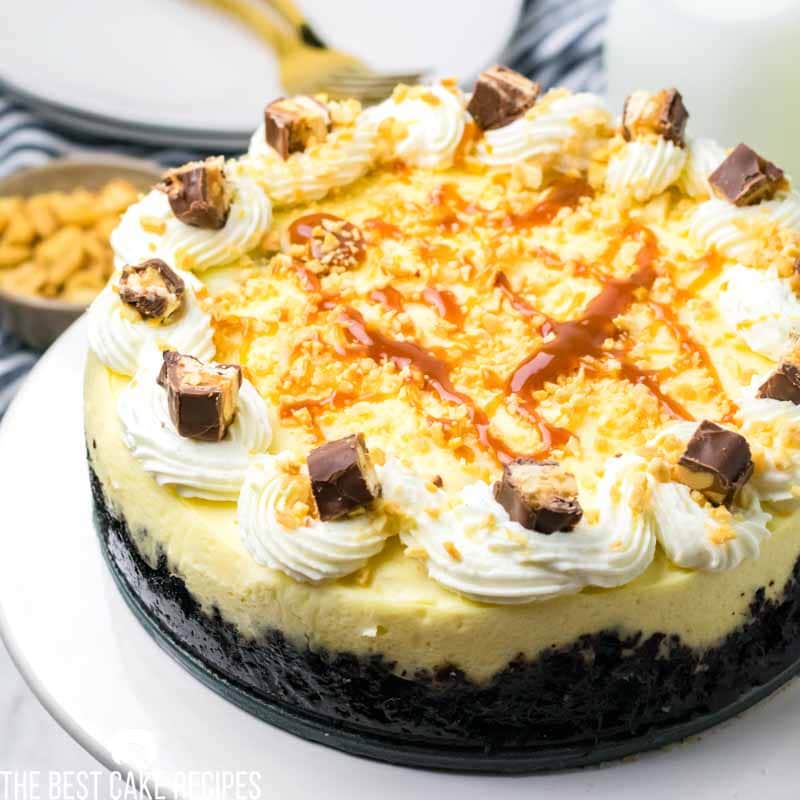
Crazy for cheesecakes? We’ve got no bake cheesecake, instant pot cheesecakes and healthy cheesecake too! Find a new one to try.
