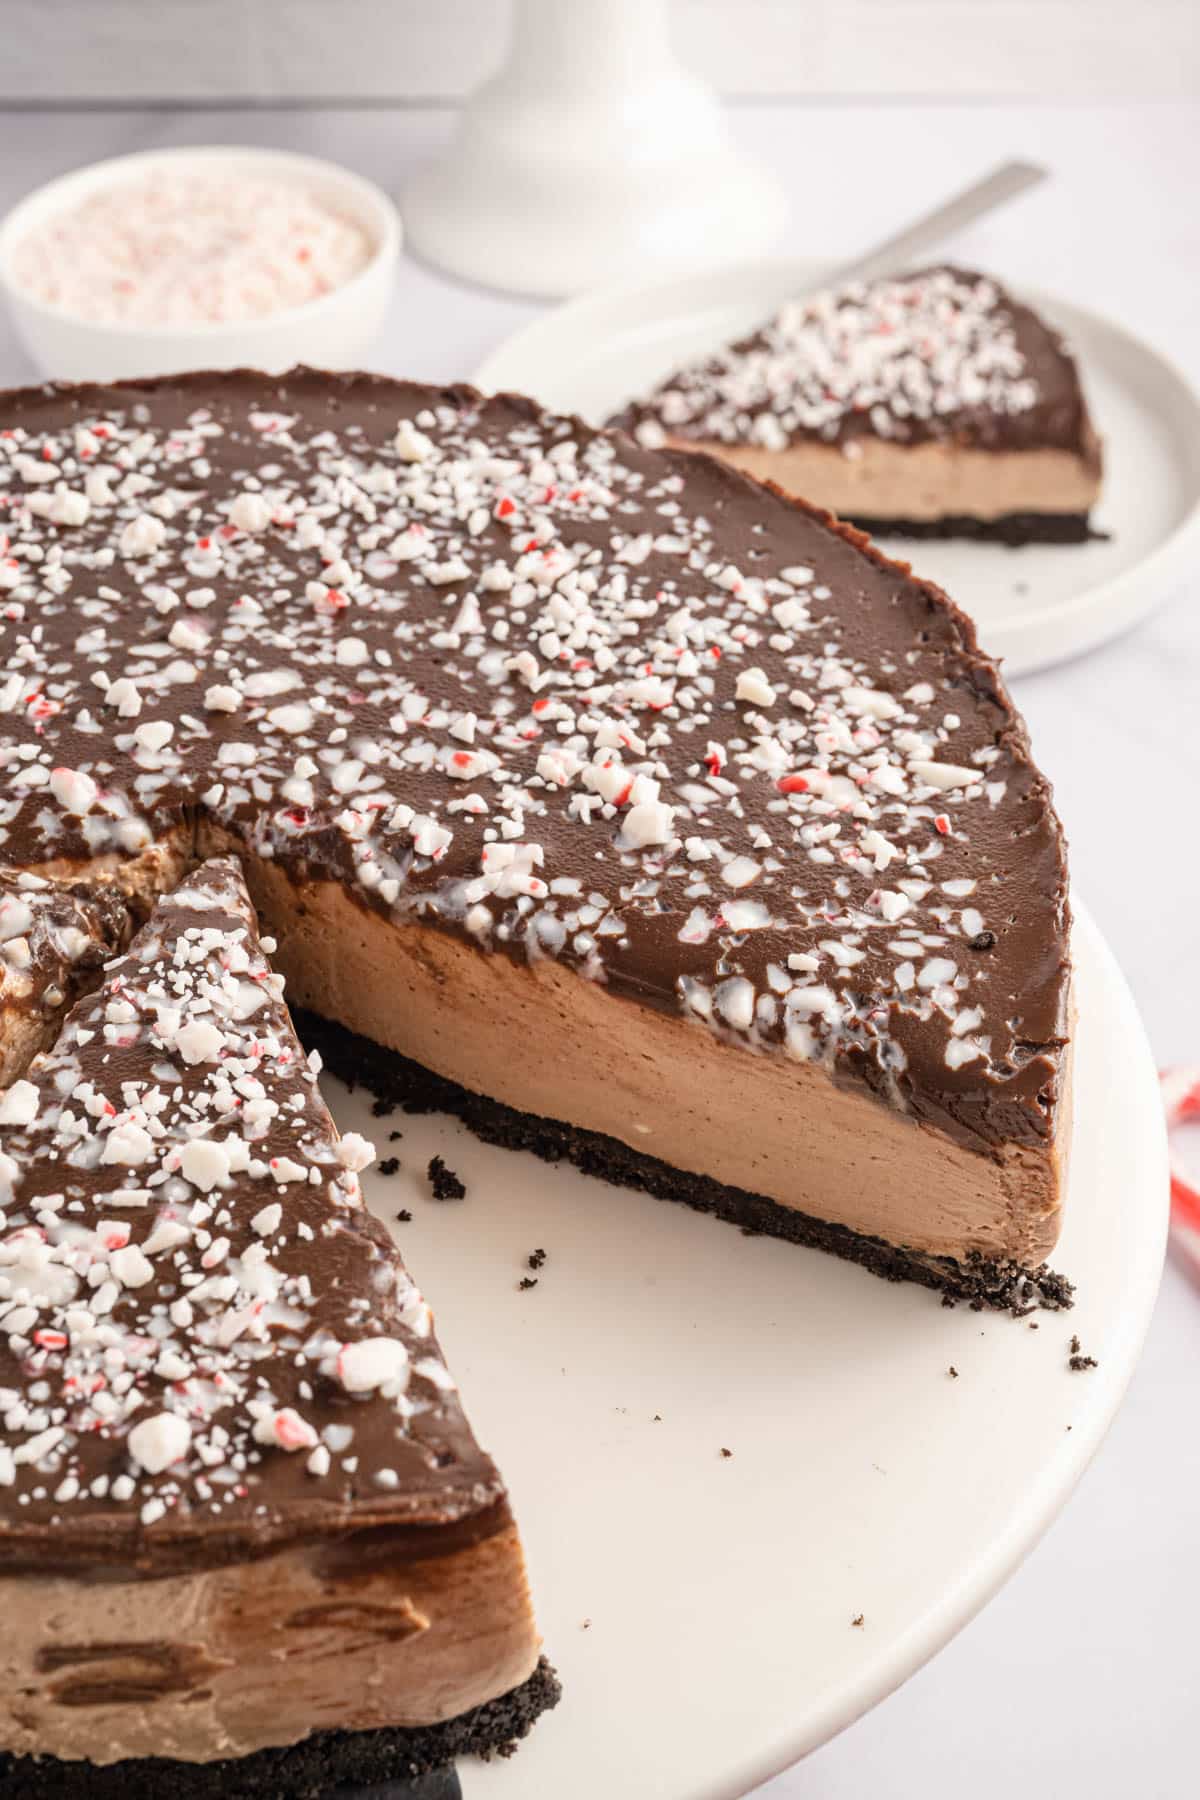
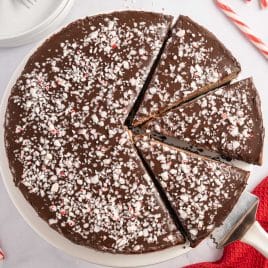
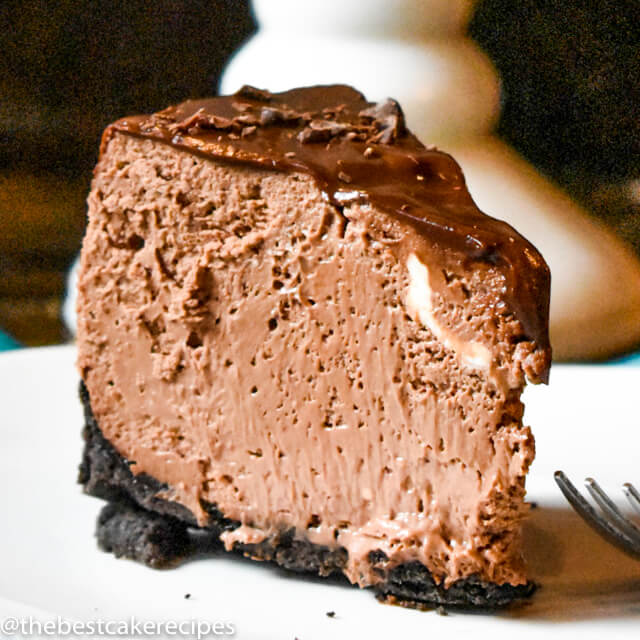
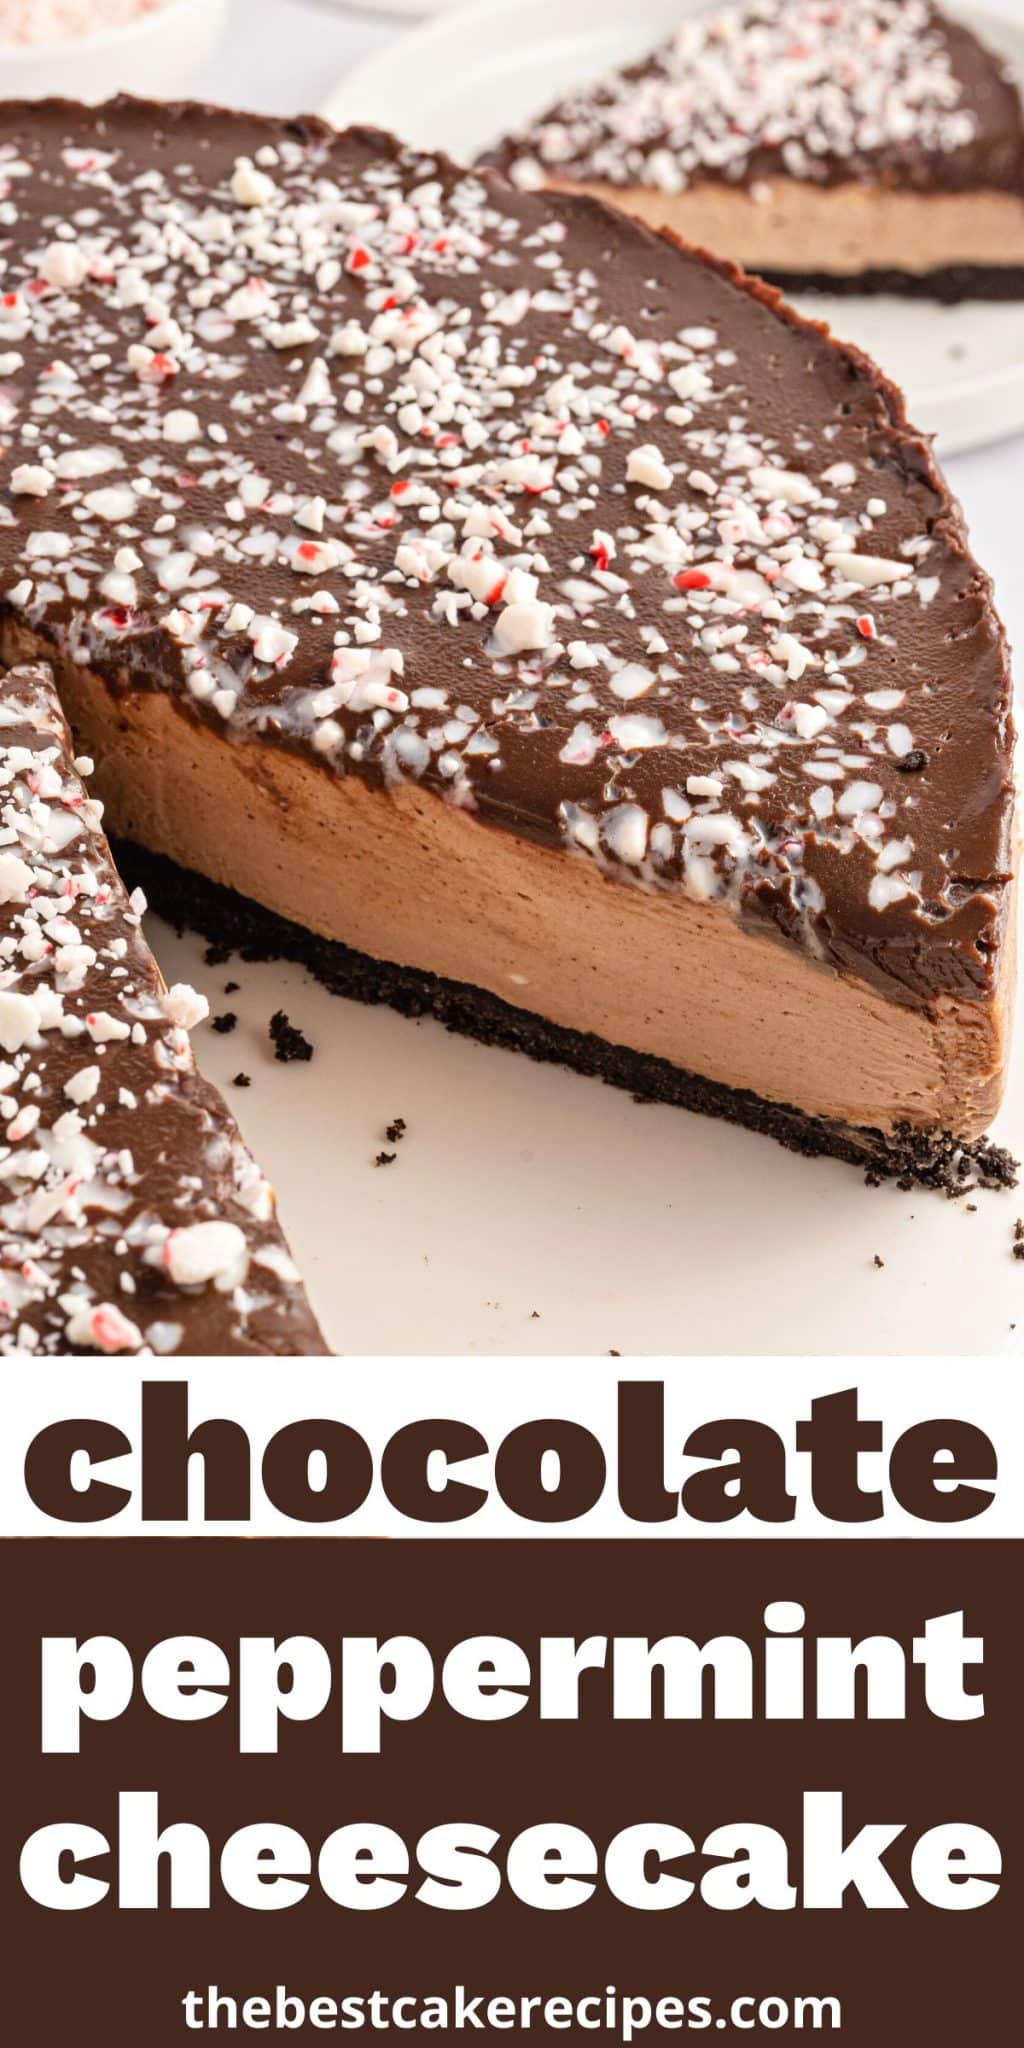
This soft and creamy no bake chocolate peppermint cheesecake has a smooth and creamy filling. It’s a great make ahead dessert in just 25 minutes prep.
No-Bake chocolate peppermint cheesecake is a perfect Christmas or holiday treat to make with the kids. This dessert has a chocolate cookie crust and a creamy chocolate cheesecake filling with peppermint flavor.
The chocolate ganache with crushed candy canes on top give it a pretty look and a decadent taste. And if you love this flavor combo, try our peppermint cloud cake.
About this peppermint chocolate cheesecake:
Flavor: This cake has the peppermint chocolate flavor you know and love during the holiday season. There is chocolate in the crust, cheesecake filling and rich chocolate ganache topping. Peppermint flavor comes from the filling and the crushed candy cane topping.
Texture: Crumbly crust, smooth creamy cheesecake, a silky ganache, and crunchy crushed candy canes on top.
Method: This is a no bake recipe that is best made in a 9″ springform pan. The springform pan allows you to remove the outer ring and easily slice for a pretty presentation.
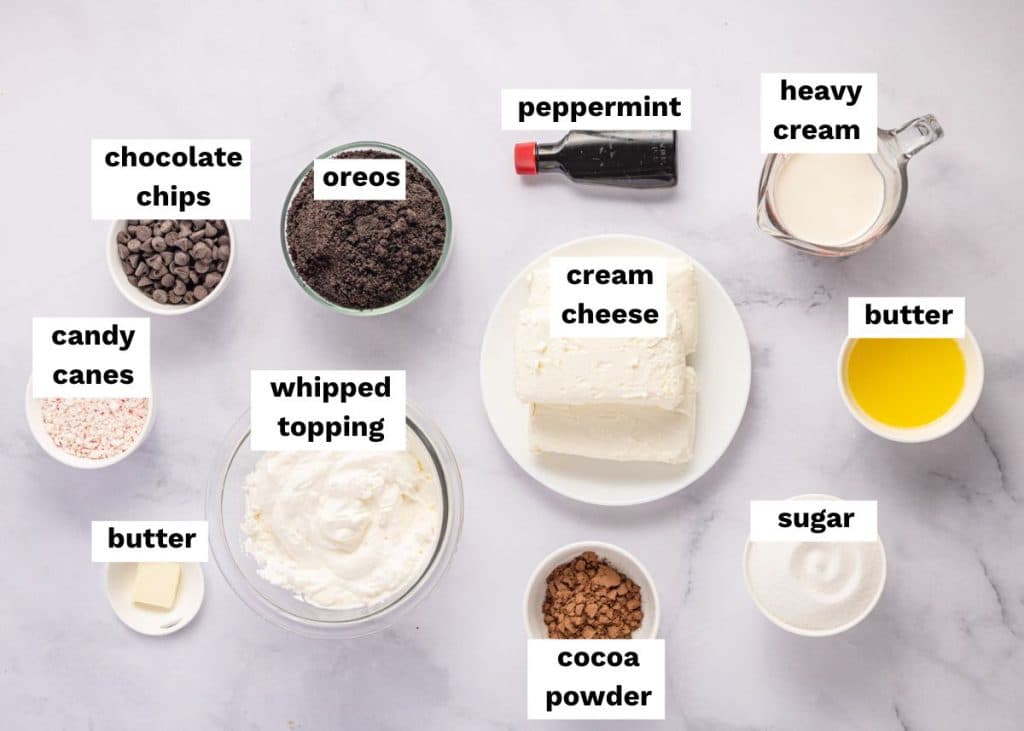
Ingredients
Here are the ingredients needed:
Use full fat cream cheese for the best flavor and texture, but reduced fat will work as well.
Hershey’s Natural Unsweetened Cocoa Powder works well.
Whipped topping is a pre-made frozen topping such as Cool Whip.
Brach’s sells pre-crushed peppermint pieces in a bag if you don’t want to crush candy canes.
How to Make Chocolate Peppermint Cheesecake
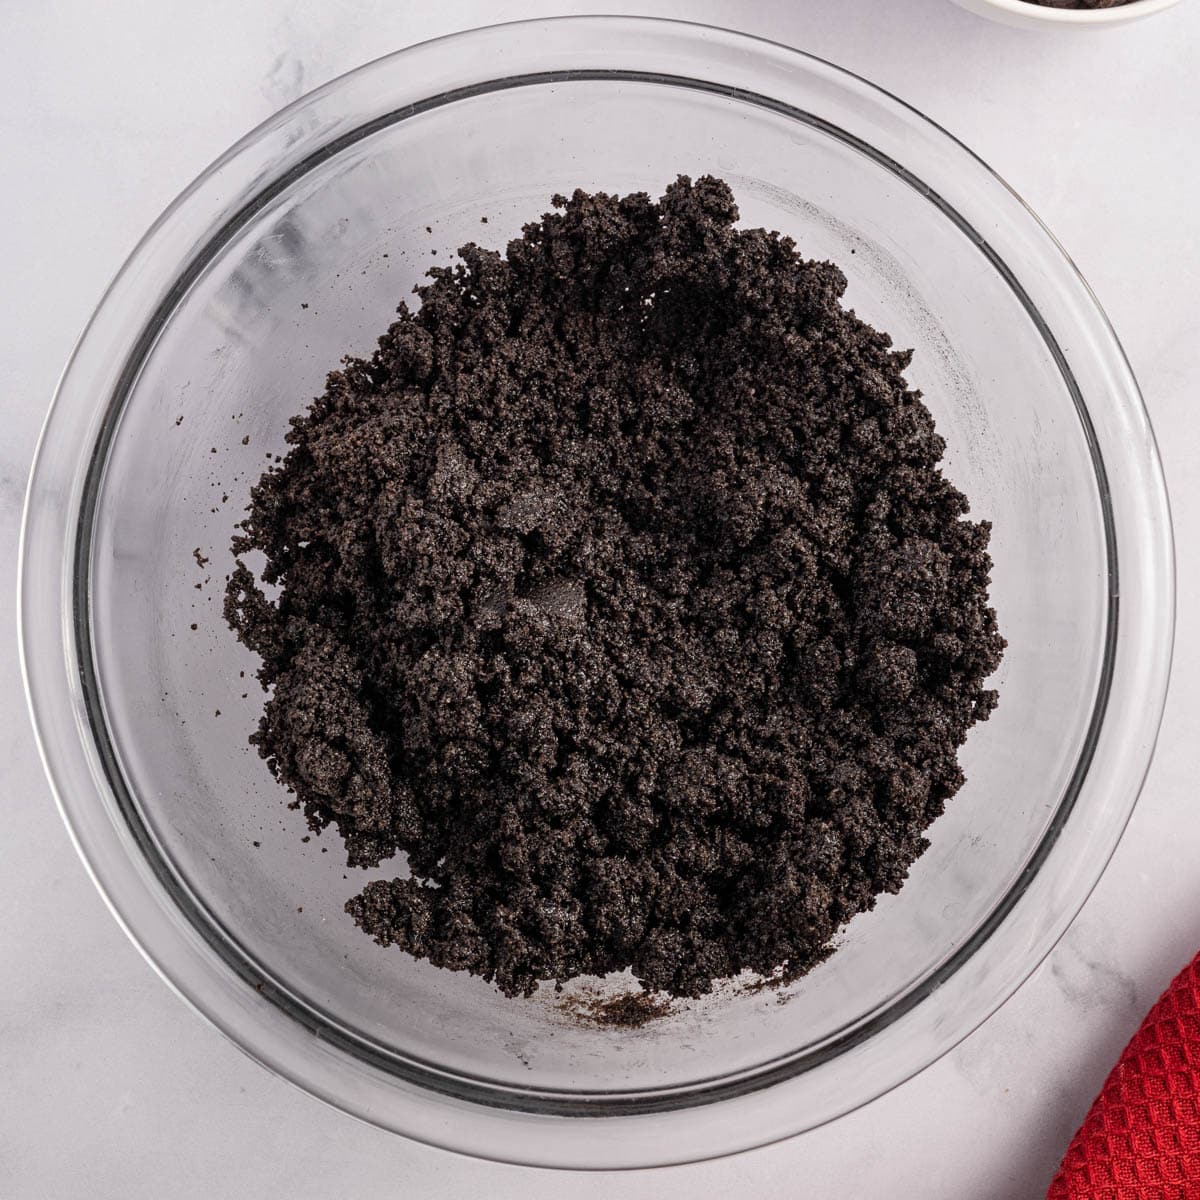
Make the crust.
In a medium bowl, stir the cookie crumbs and melted butter together until they are well-mixed.
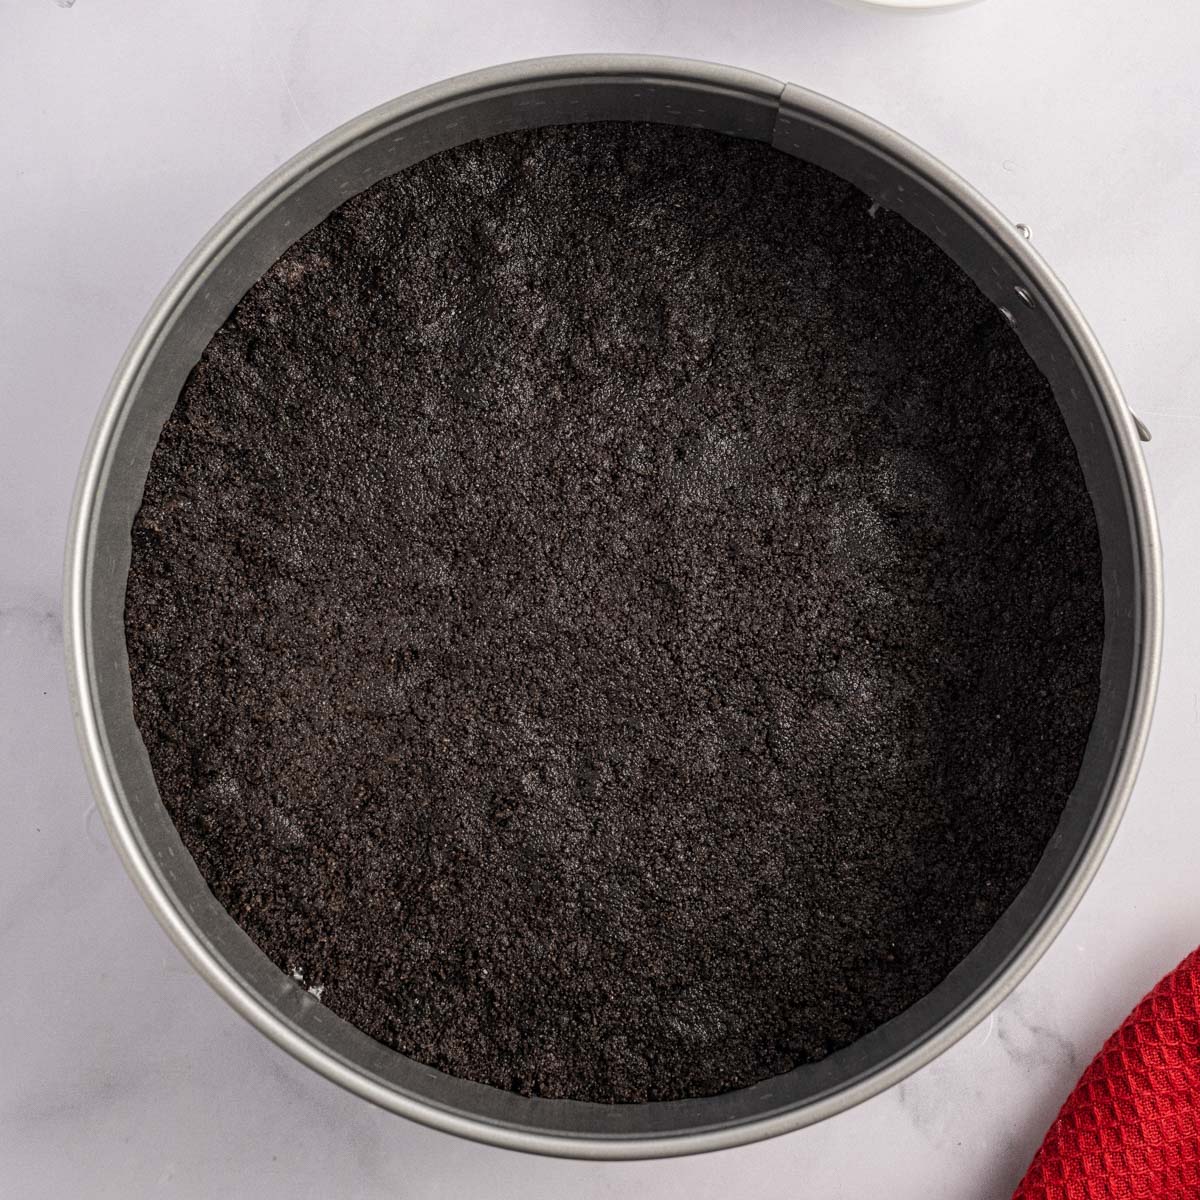
Press the crumbs firmly into the springform pan, then set the crust in the freezer for at least 20 minutes.
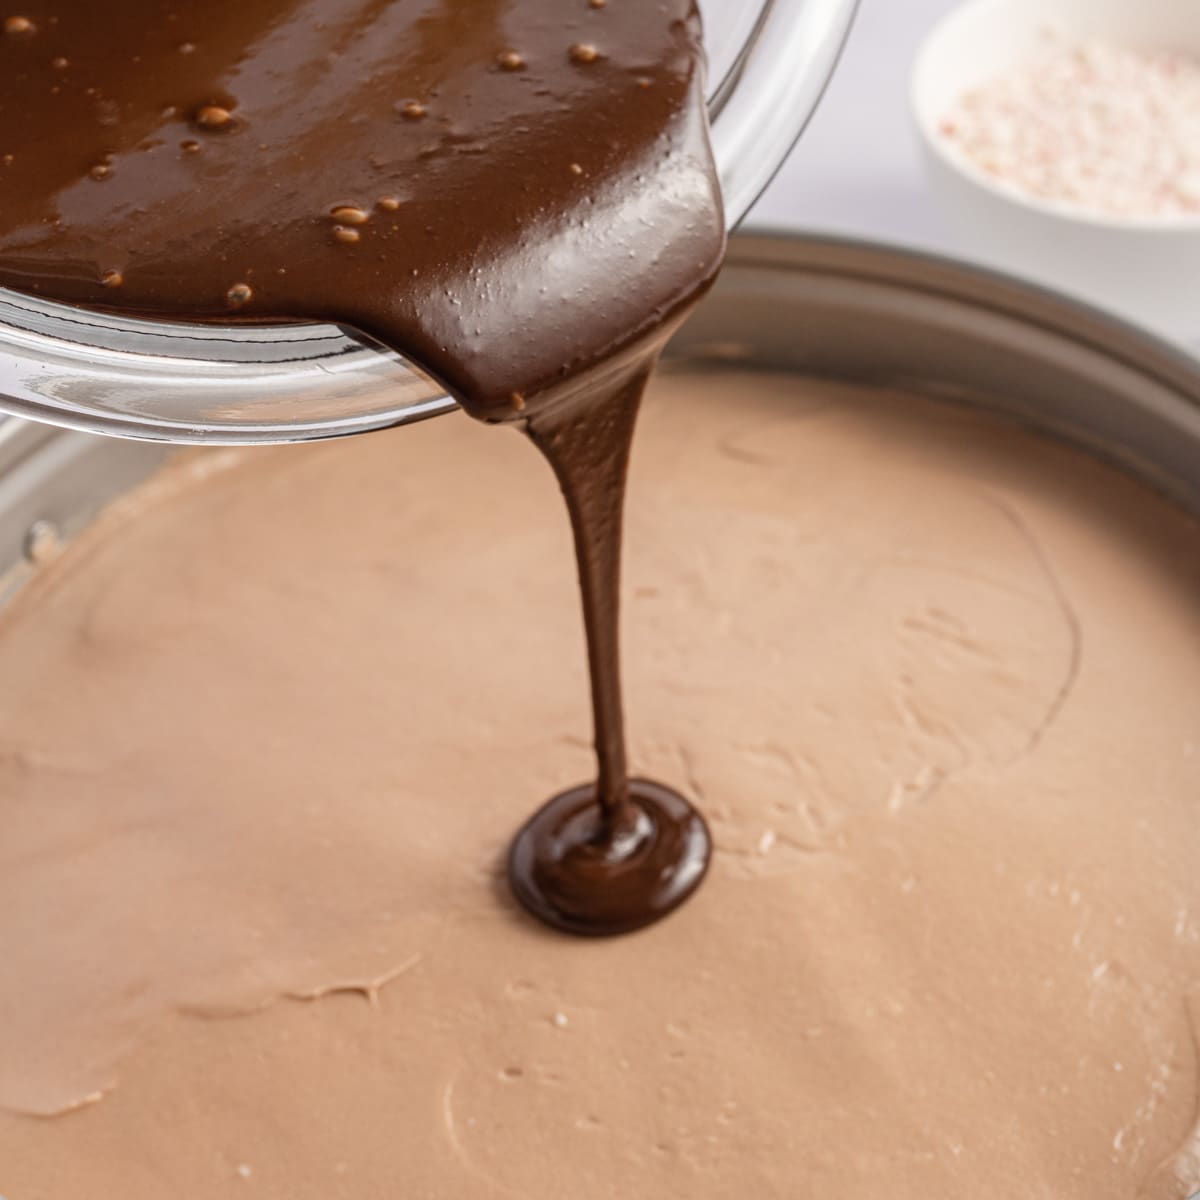
Make the ganache.
The ganache goes on the top of the cheesecake, but you’ll make it before the filling so that it can cool off.
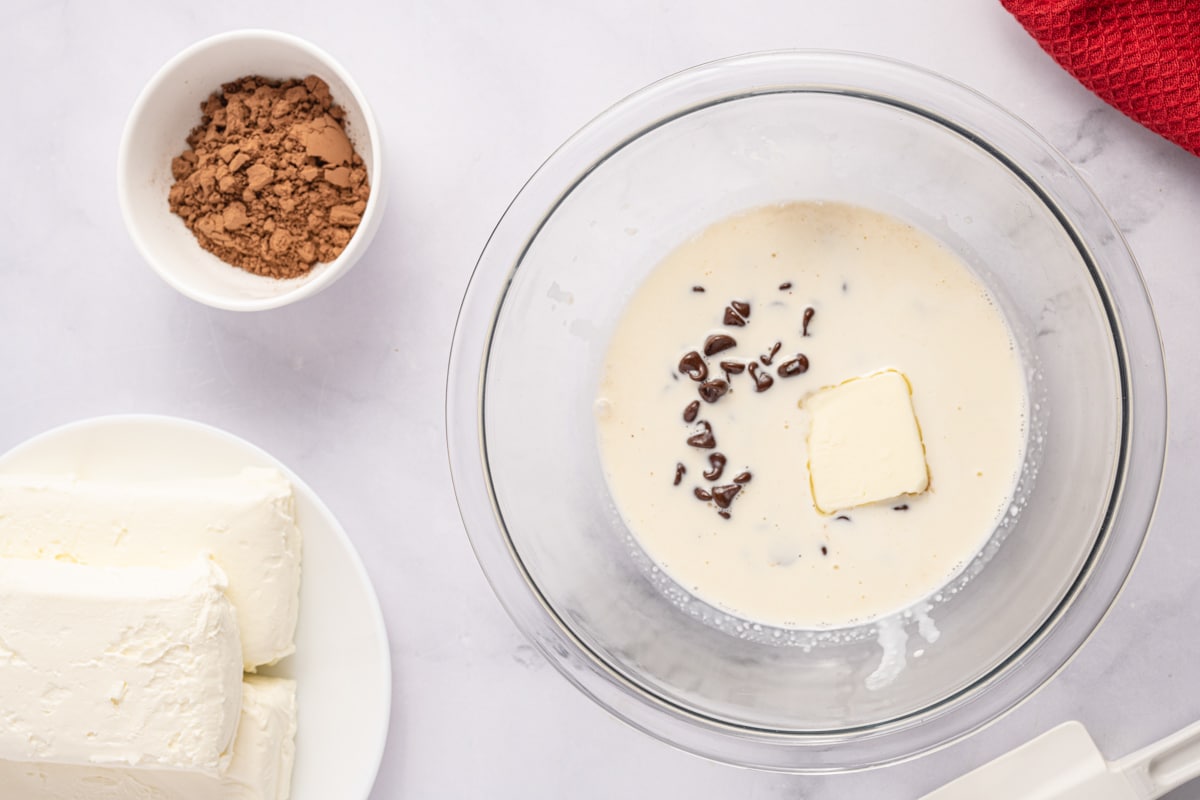
Place the chocolate chips into a small or medium heat-proof bowl.
Heat the heavy whipping cream in a small saucepan over medium heat until the cream starts to simmer around the edges of the saucepan. Do not let the cream boil.
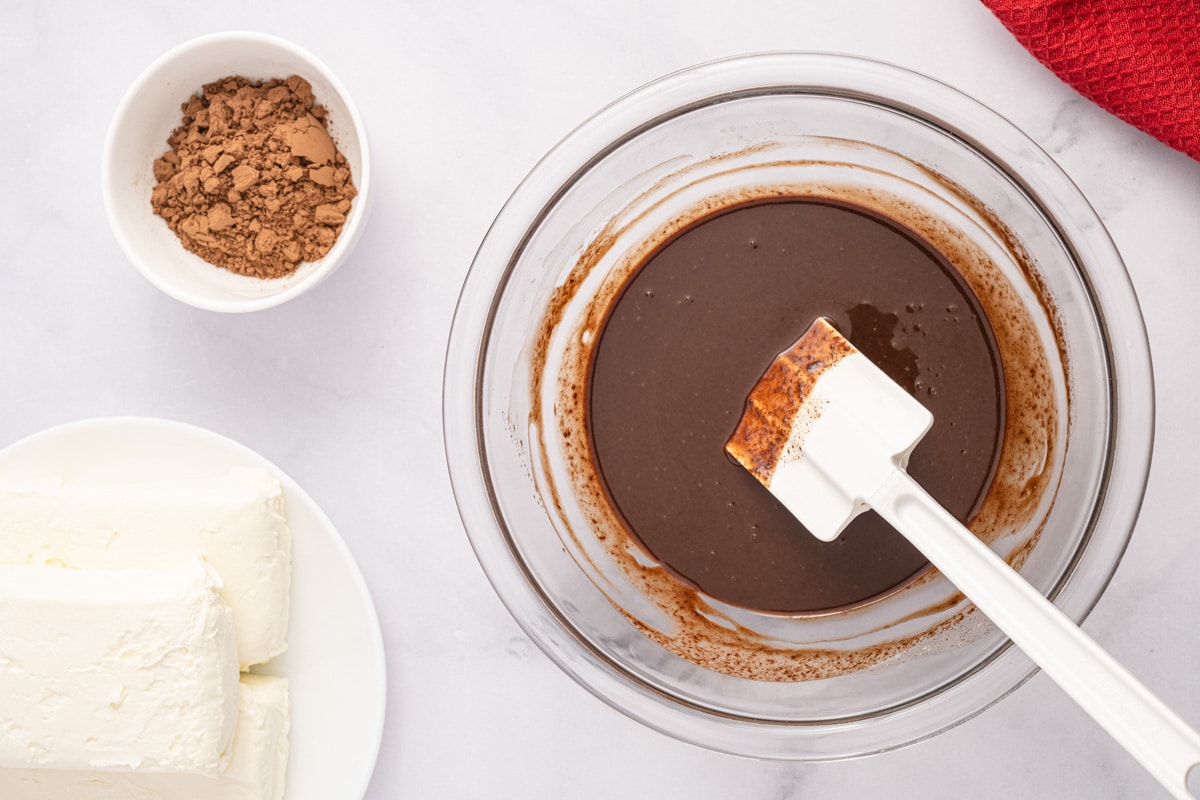
Pour the cream over the chocolate chips and add the tablespoon of butter. Let it sit for 2-3 minutes, then add the peppermint extract and stir until the chocolate is smooth and the butter has melted. Let the ganache cool to room temperature.
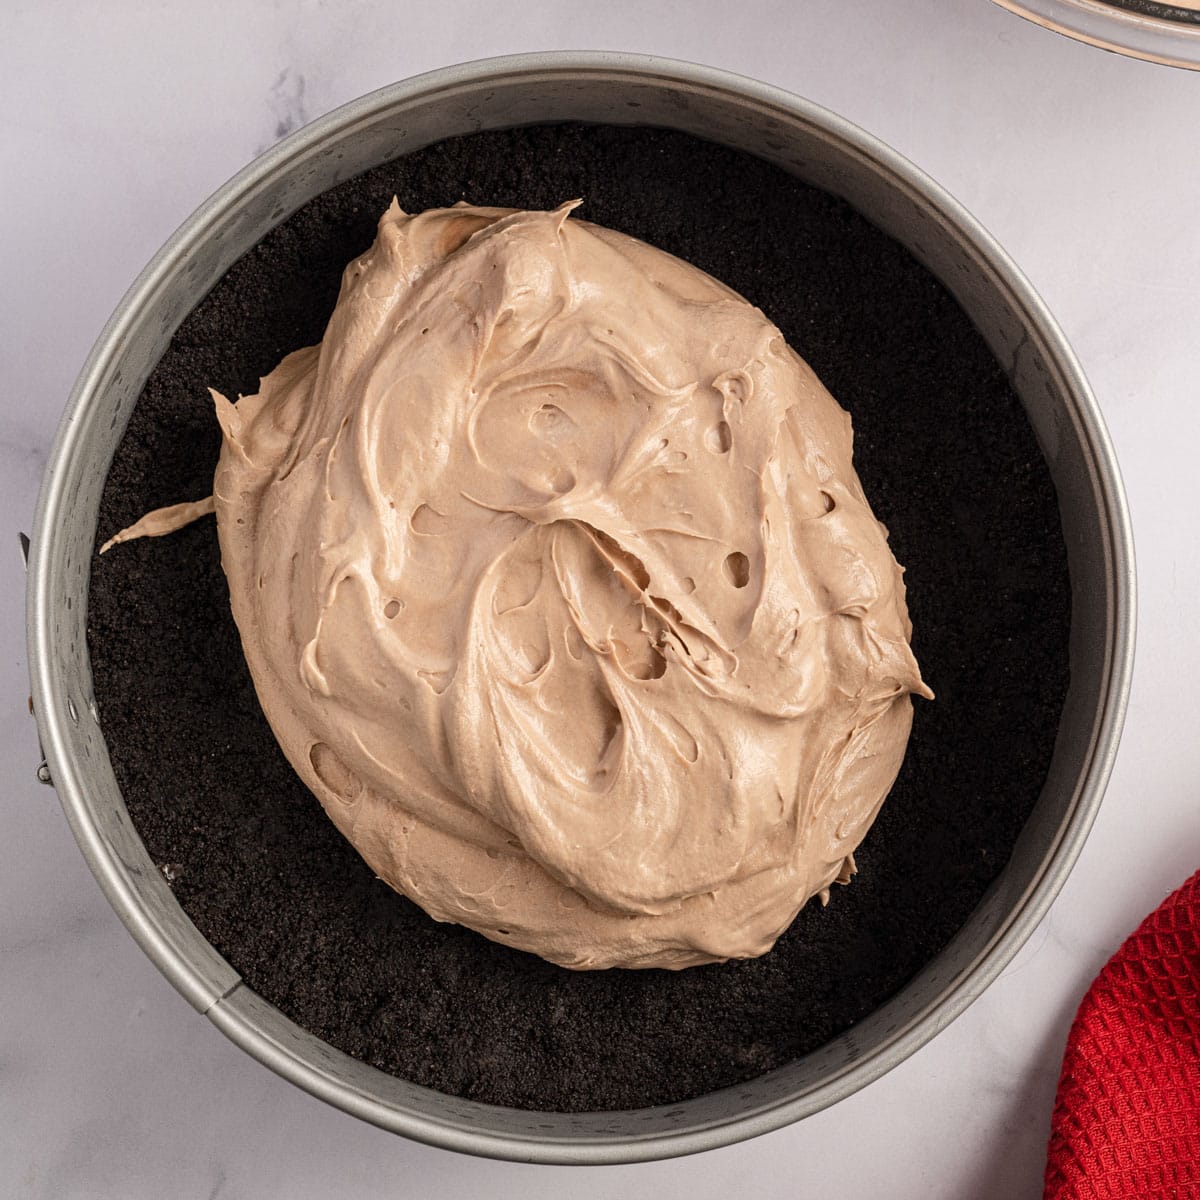
Make the cheesecake filling.
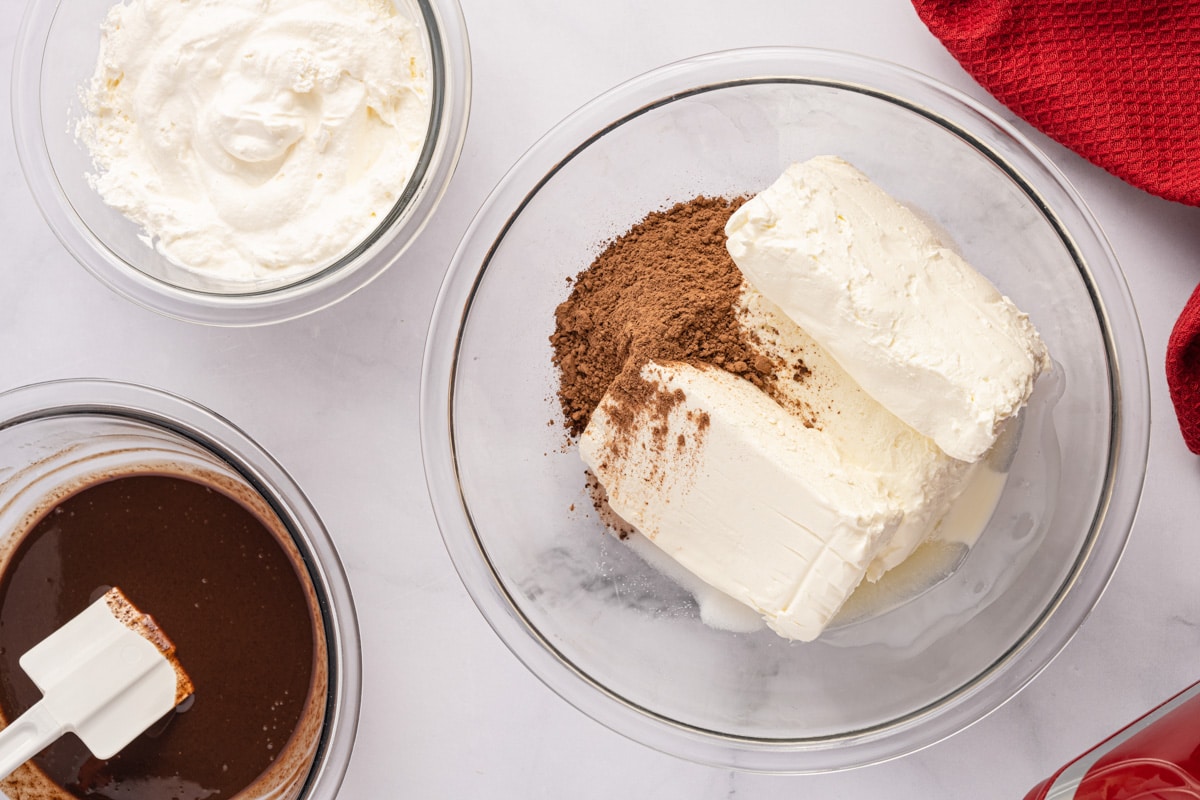
In a large bowl, add the cream cheese, sugar, cocoa powder, heavy whipping cream, and peppermint extract, and mix with an electric hand mixer until smooth.
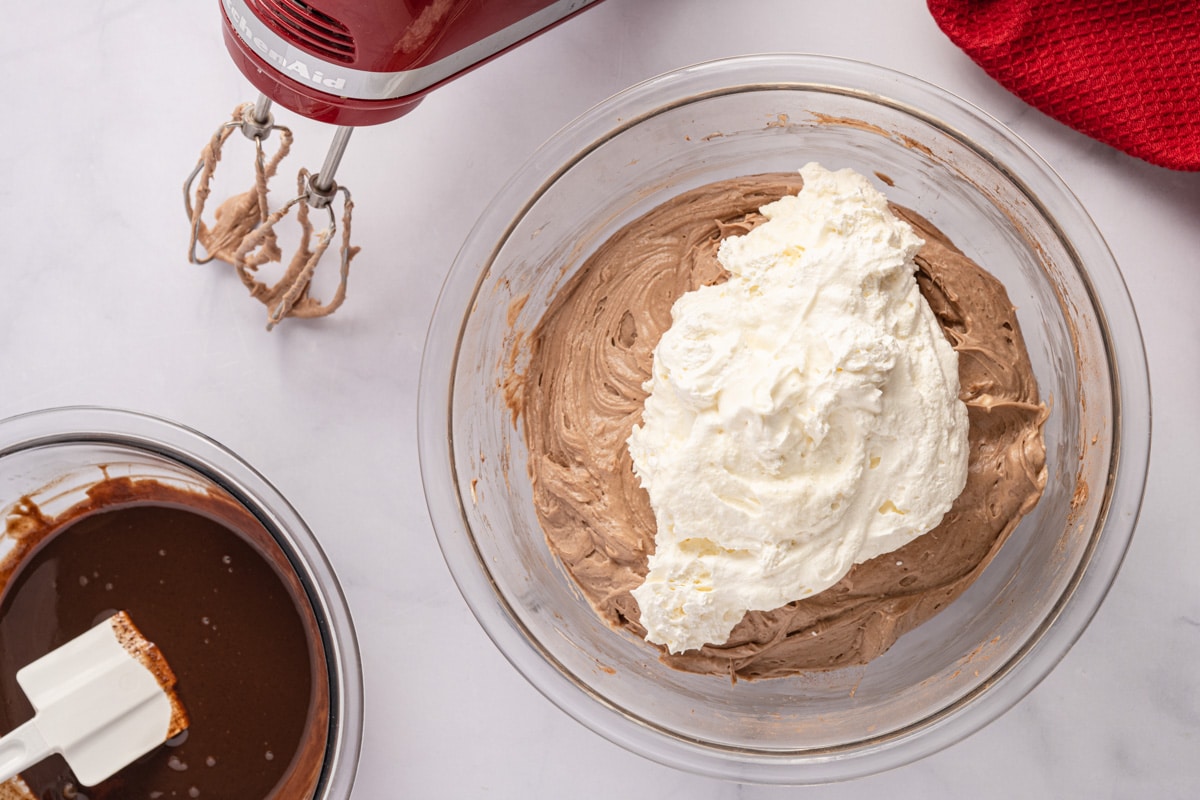
Add the whipped topping, and continue mixing with the electric mixer on low speed until combined.
Assemble the cheesecake.
Pour the cooled chocolate ganache over the cheesecake. Sprinkle some of the crushed candy canes on top, and place in the refrigerator for at least 4 hours or better yet, overnight, until the ganache has set.
Remove the ring of the springform pan, and sprinkle additional crushed candy canes on top.
Lighten it up.
Looking to save calories? I can help! Although full fat and full sugar ingredients will always have the best flavor and texture, you can lighten this dessert up(of course I recommend making it as stated below first!):
Use gluten free Oreo cookies for the crust.
Use low fat or fat free cream cheese.
Leave the tablespoon of butter out of the chocolate ganache. It will work just as well.
In the filling, lower the sugar to ½ cup. You still have the sweetness from the whipped topping adding to the the flavor, so you may not miss it.
Fat free or low sugar Cool Whip can be substituted for the original version.
about low fat ingredients
Low fat cream cheese and other ingredients can cause the mint chocolate cheesecake to not be quite as firm. It will still be delicious, but may be softer. Chill in the fridge at least 12 hours if you are using low fat ingredients.
Storage Instructions
Room temperature: Do not store this cheesecake at room temperature. It must be refrigerated.
Refrigerator: Cover and store in the refrigerator for up to 5 days.
Freezer: Cover with plastic wrap and foil and store in the freezer for up to 3 months. Thaw before serving.
No Bake Chocolate Peppermint Cheesecake
5 from 2 votes
This soft and creamy no bake chocolate peppermint cheesecake has a smooth and creamy filling. It's a great make ahead dessert in just 25 minutes prep.
In a medium bowl, stir the cookie crumbs and melted butter together until they are well-mixed.
Press the crumbs firmly into the springform pan, then set the crust in the freezer for at least 20 minutes.
Make the chocolate ganache:
While the crust is freezing, make the chocolate ganache. Place the chocolate chips into a small or medium heat-proof bowl.
Heat the heavy whipping cream in a small saucepan over medium heat until the cream starts to simmer around the edges of the saucepan. Do not let the cream boil.
Pour the cream over the chocolate chips and add the tablespoon of butter. Let it sit for 2-3 minutes, then add the peppermint extract and stir until the chocolate is smooth and the butter has melted. Let the ganache cool to room temperature.
Make the cheesecake filling:
As the ganache is cooling, make the cheesecake filling. In a large bowl, add the cream cheese, sugar, cocoa powder, heavy whipping cream, and peppermint extract, and mix with an electric hand mixer or stand mixer on low speed until smooth.
**Add the whipped topping to the cream cheese mixture, and continue mixing with the electric mixer on low speed until combined.
Spoon the cheesecake batter over the cookie crust, and spread it out evenly with a spatula.
Pour the cooled chocolate ganache over the cheesecake. Sprinkle some of the crushed candy canes on top, and place in the refrigerator for at least 4 hours or better yet, overnight, until the ganache has set.
Remove the ring of the springform pan, and sprinkle additional crushed candy canes on top.
Serve chilled. Store in an airtight container in the refrigerator.
Notes
*I crushed 24 Oreo cookies in my food processor.**Fold the whipped topping into the cream cheese mixture with a rubber spatula or on the lowest speed of the hand mixer. If you mix too much too quickly, the whipped topping may deflate.Refer to the article above for more tips and tricks.The calories shown are based on the cheesecake being cut into 12 pieces, with 1 serving being 1 slice of cheesecake. Since different brands of ingredients have different nutritional information, the calories shown are just an estimate. **We are not dietitians and recommend you seek a nutritionist for exact nutritional information. The information in the nutrition box are calculated through a program and there is room for error. If you need an accurate count, I recommend running the ingredients through your favorite nutrition calculator.**
Crazy for cheesecakes? We’ve got no bake cheesecake, instant pot cheesecakes and healthy cheesecake too! Find a new one to try.
White Chocolate No Bake Cheesecake
Oreo No Bake Cheesecake
Snickers cheesecake
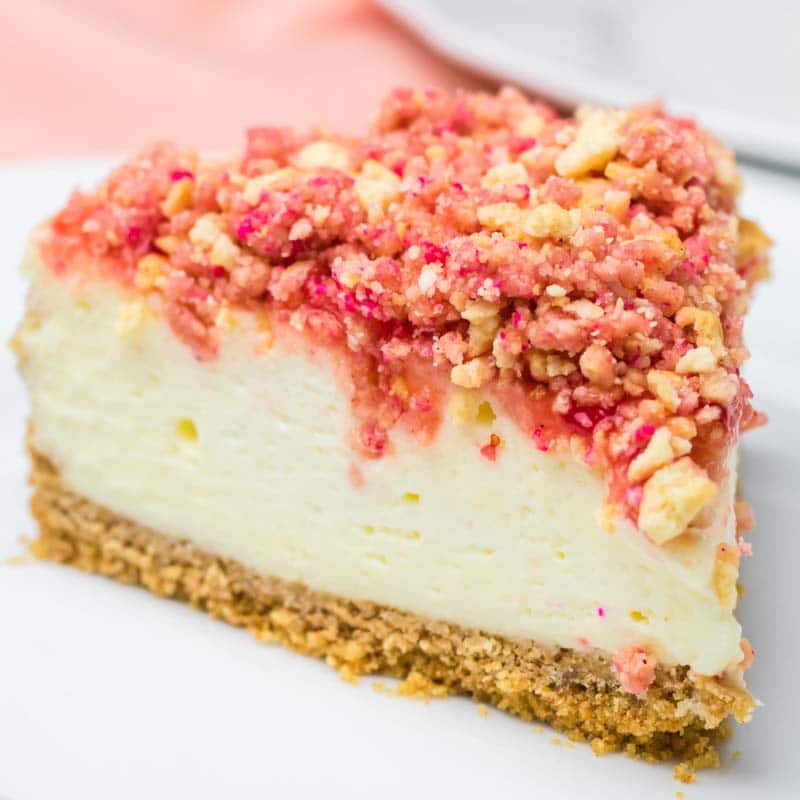
Strawberry Crunch Cheesecake
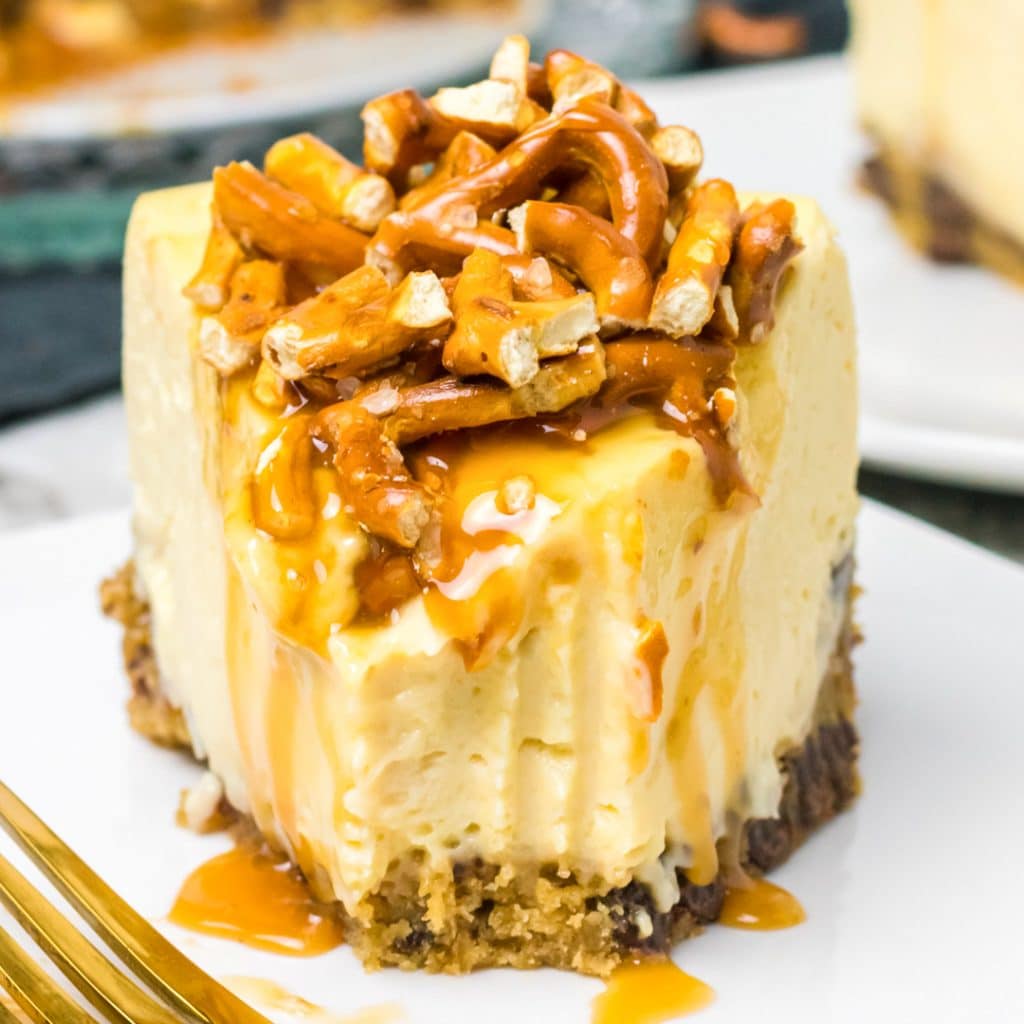
Caramel Pretzel Cheesecake
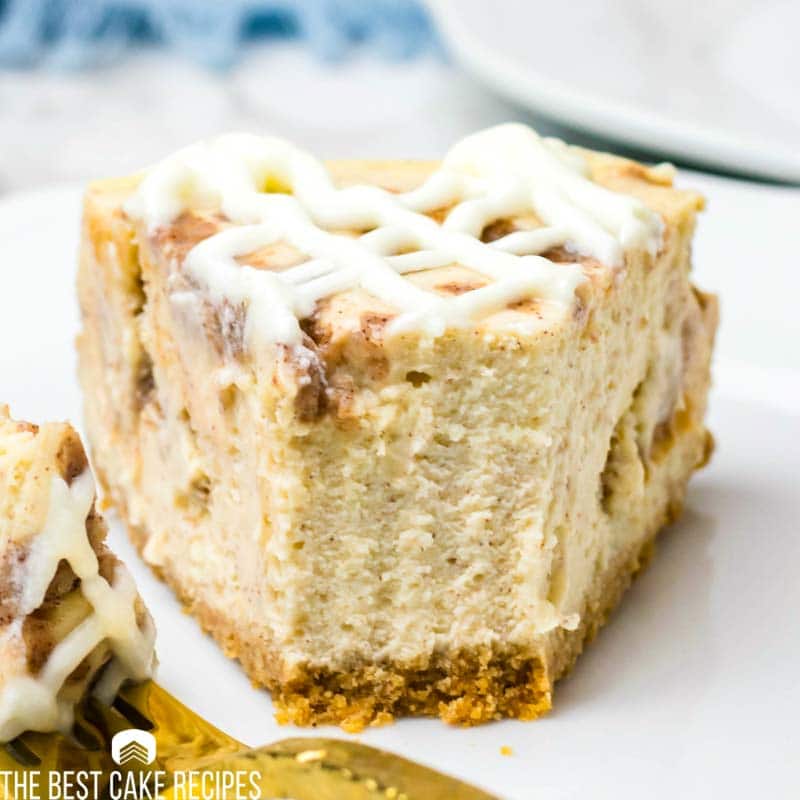
Cinnamon Roll Cheesecake
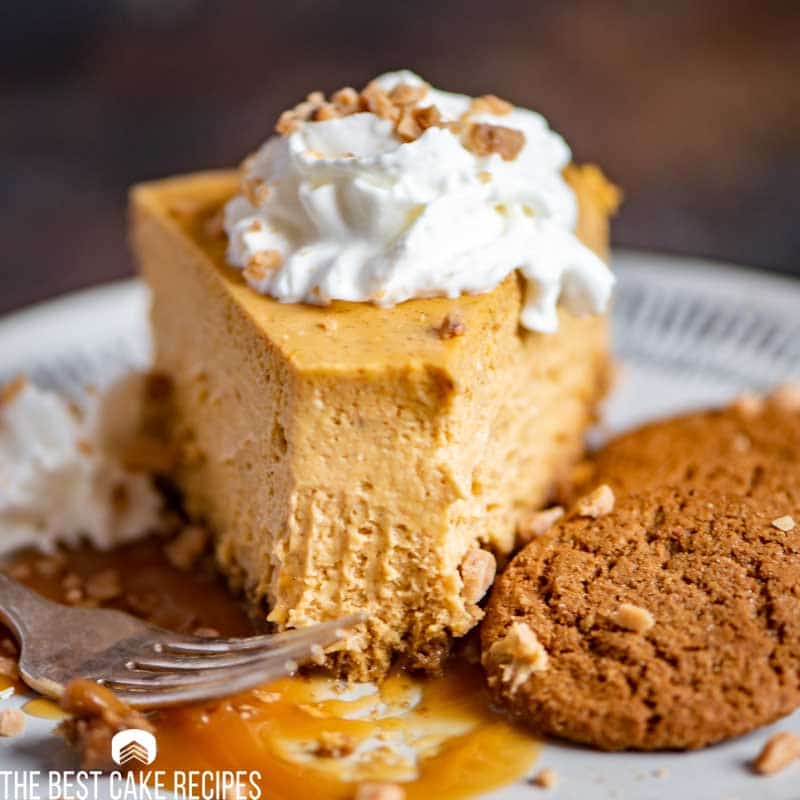
Pumpkin Cheesecake
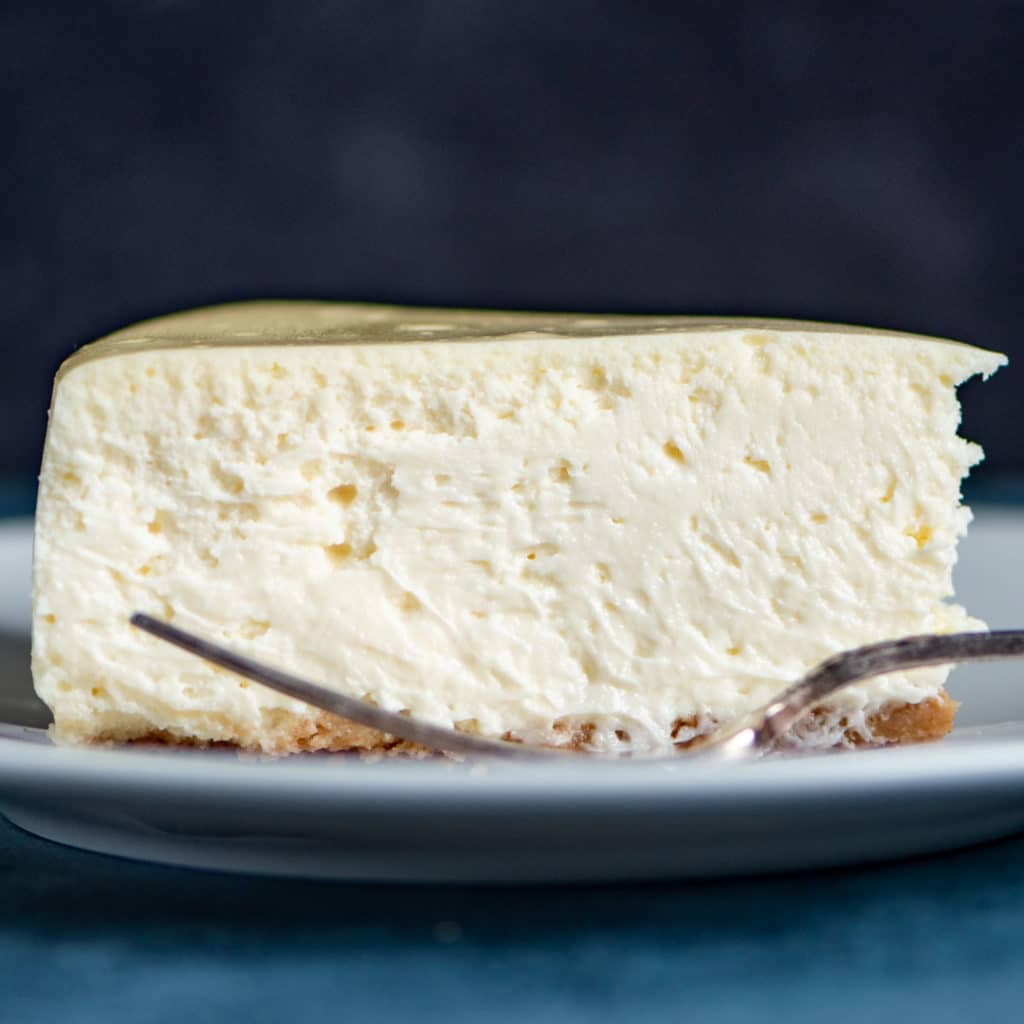
Best Creamy Cheesecake
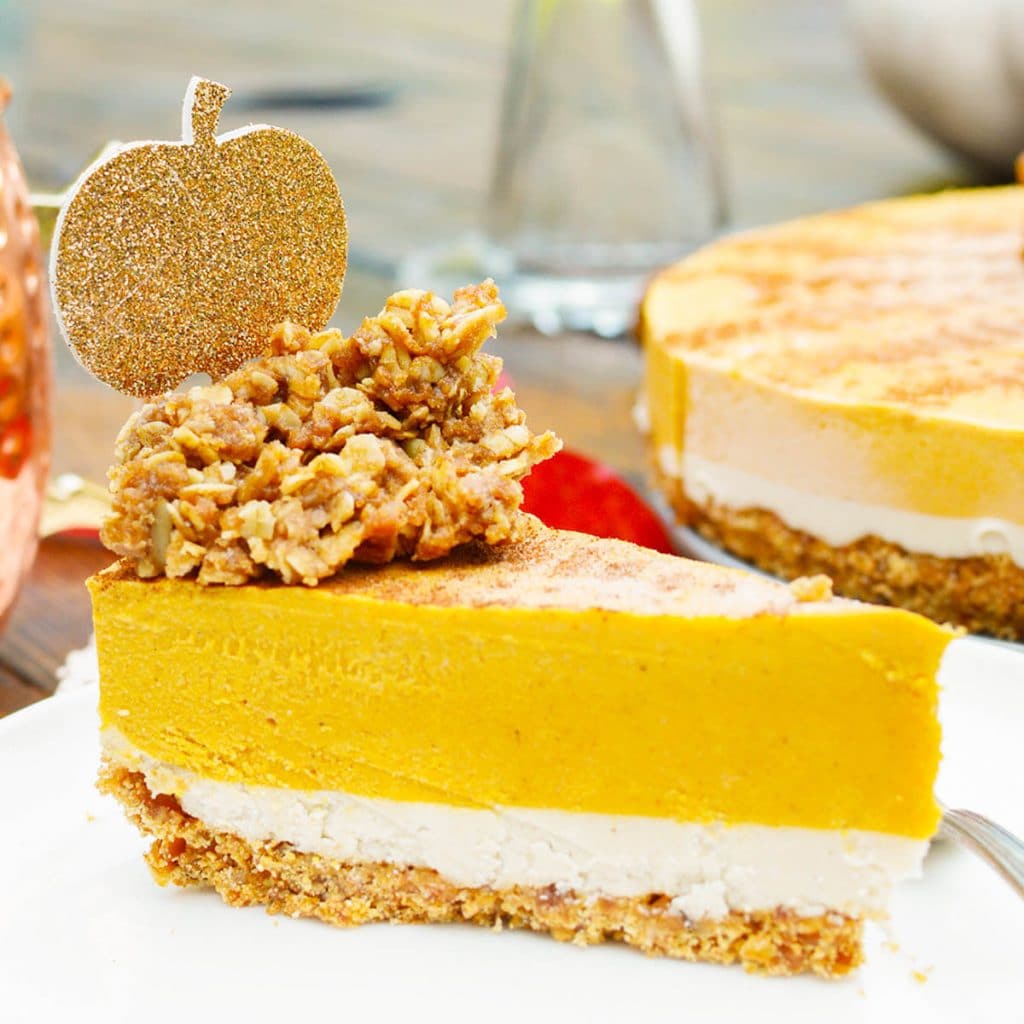
Vegan Pumpkin Cheesecake
Chocolate Cheesecake
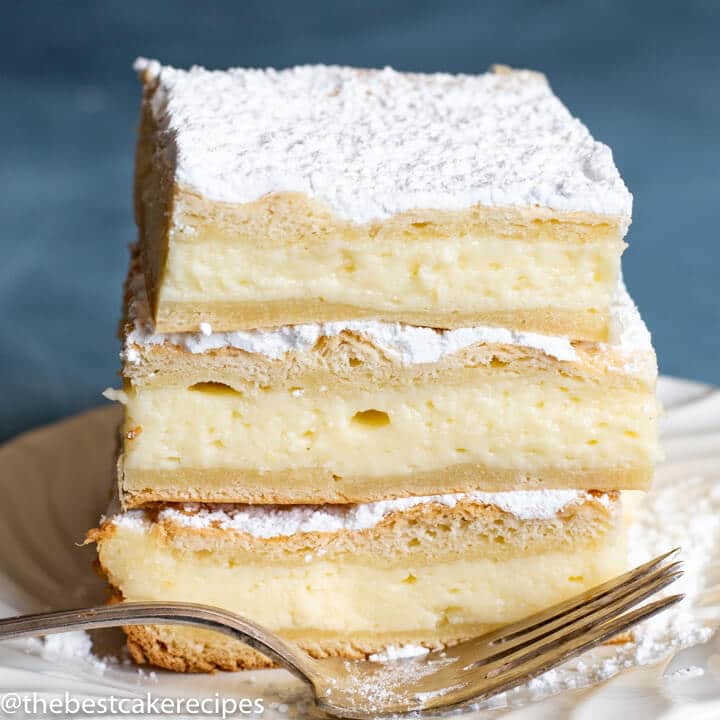
Cheesecake Bars
About Julie Clark
We are Julie, Maddie, and Kinslee – a mother and daughter team sharing with you the best cakes to satisfy any need or sweet craving that you may have. Welcome to our family’s kitchen!